Page 1 of 2
How to edit this material ?
Posted: Fri Dec 13, 2013 5:29 am
by Steve Jepson
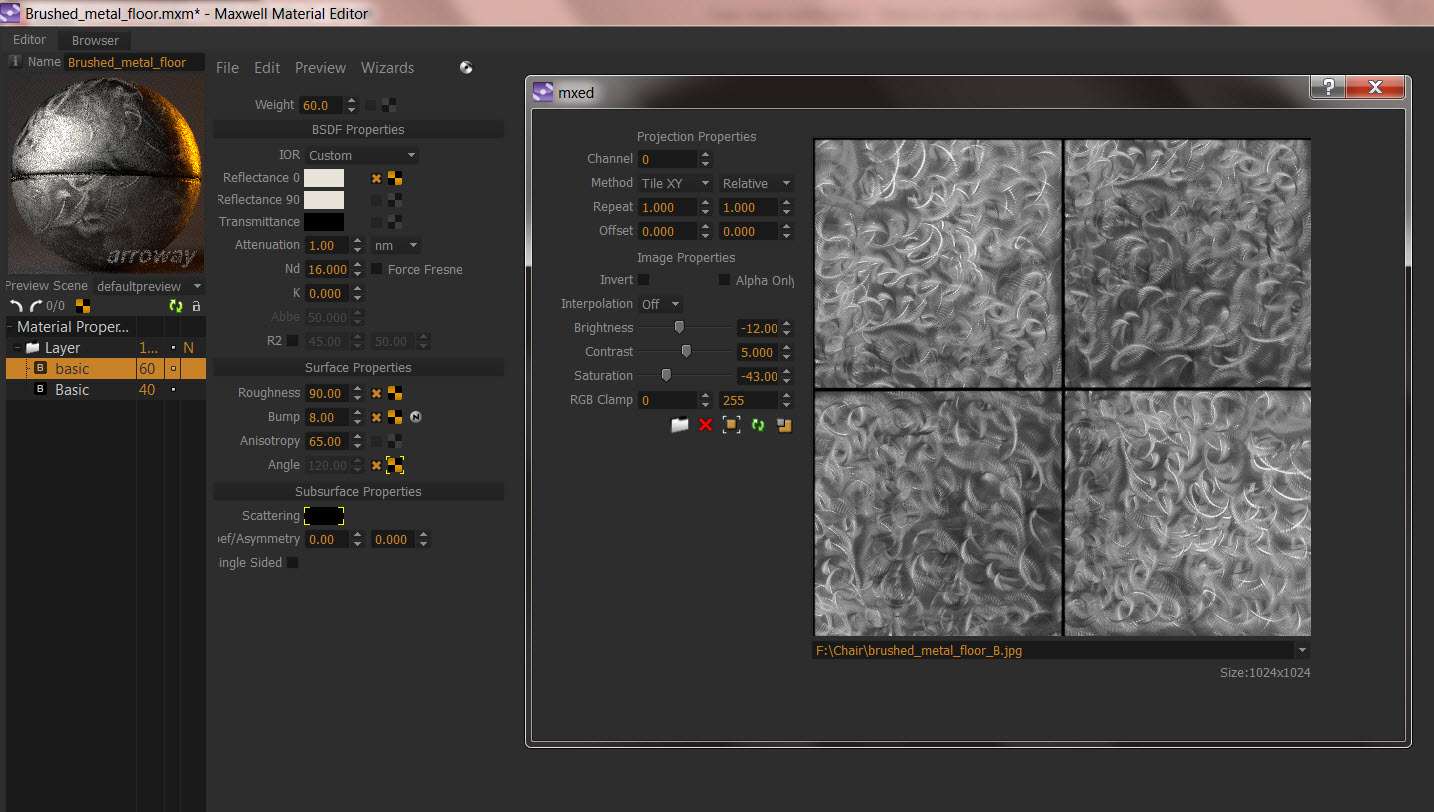
Is it possible to edit this material so it does not have the tile pattern in it ?
"
http://resources.maxwellrender.com/sear ... ch=metalic floor&v1=0&v2=0&tipo="
brushed metallic floor
How do I do that ?
Re: How to edit this material ?
Posted: Fri Dec 13, 2013 7:21 am
by seghier
you must modify the textures and remove tiles
Re: How to edit this material ?
Posted: Fri Dec 13, 2013 8:10 am
by Steve Jepson
I don't know how to tell what to delete.
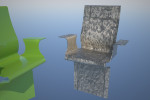
I am trying to apply this texture to a chair.
 https://www.dropbox.com/s/4s3zw5h2fi7lt ... 202013.mxs
Re: How to edit this material ?
Posted: Fri Dec 13, 2013 4:54 pm
by seghier

it's a quick modification of the original image
Re: How to edit this material ?
Posted: Fri Dec 13, 2013 4:57 pm
by Bubbaloo
Those highlights need to be painted out!
Re: How to edit this material ?
Posted: Fri Dec 13, 2013 6:23 pm
by Steve Jepson
Thanks seghier,
How did you find where the lines for the tile are?
Re: How to edit this material ?
Posted: Fri Dec 13, 2013 6:51 pm
by joaomourao
with v3 this is a fast and easy task... with v2 you had to do it in photoshop... I think that's what seghier did

cheers!
Re: How to edit this material ?
Posted: Fri Dec 13, 2013 7:04 pm
by seghier
Steve you do this with your eyes and hands using photoshop or gimp ...
yes joaomourao; its photoshop

, but how you can do that with v3 ?
Re: How to edit this material ?
Posted: Fri Dec 13, 2013 7:20 pm
by joaomourao
Seghier, check out the brick procedural with same height and width for brick and small brick, use double brick and you have a tile with the size you want and you can define the colors (or in this case a texture) for both the bricks and mortar! so cool! the pool tiles preset is an example for just that...
tiles and brick got a big help from v3
cheers!
Re: How to edit this material ?
Posted: Fri Dec 13, 2013 8:10 pm
by Steve Jepson
Re: How to edit this material ?
Posted: Fri Dec 13, 2013 9:46 pm
by seghier
joaomourao wrote:Seghier, check out the brick procedural with same height and width for brick and small brick, use double brick and you have a tile with the size you want and you can define the colors (or in this case a texture) for both the bricks and mortar! so cool! the pool tiles preset is an example for just that...
tiles and brick got a big help from v3
cheers!
if you use image with brick procedural texture ; the result not good like when you modify it in photoshopor or gimp .....
Re: How to edit this material ?
Posted: Fri Dec 13, 2013 9:49 pm
by seghier
you must export your scene : pack and go than compress it ; all texture are missing
Re: How to edit this material ?
Posted: Fri Dec 13, 2013 10:00 pm
by joaomourao
Steve, you miss understood it... The material you had in the first place had a tiling in the textures you were using... There is no other way to remove those tiles but editing them in photoshop or similar software... That's what seghier did with the new image.
With v3 now, to get a tiled image like the first one you presented us you don't have to do them in photoshop, just use a brick procedural with images of your choice...
Seghier, the beauty of this is that tiling and similar mathematical procedurals can now be using photographic textures and I bet in a very near future it will acquire the possibility of randomness and chaos... Procedurals will mature with time and will give us more freedom of creativity with easy management...
Cheers!
Re: How to edit this material ?
Posted: Fri Dec 13, 2013 10:10 pm
by seghier
yes it is very useful but if we use texture we get result like that ; brick procedural need smoothing option without separate the tiles

Re: How to edit this material ?
Posted: Fri Dec 13, 2013 10:36 pm
by Steve Jepson
https://www.dropbox.com/s/yt64d5ifpsfwv ... st%20b.mxs
Just testing now to see if I was able to upload a Pack an Go ok or not. Thanks for the help.
I was thinking that there was perhaps some image file that was being used in this material to make the lines for the tile that I could just remove.
Now I understand that it was a tiled image to start with. I just didn't look close at it.
What I did was adjust the pattern to where the lines could be removed using the Maker Over Tool and Clone Brush I have in Corel PaintShop.
I was hoping I could generate a rendering that would not need any post render work.
The reason for using this texture is because the guy making the chair said he will have to put something like this on the chair to hide marks that will be made when he bends it. It is supposed to be bent form a single sheet of metal but he may have a couple of welds to grind and hide as well.
The chair is modeled with ArchiCAD and looked terrible until it is smoothed in Maxwell Studio.
The fabricator went online to the Maxwell Materials library and selected the material he thought would match what he will do to the chair. It is nice to have the Maxwell Materials available for other than Maxwell users to look at.